TrEnvy Australia featured on Houzz.com

Saturday 3 December 2011

TrEnvy Christmas Tree Decorations..Deconstructed! PART 3

Well...here we are. Part 3 of TrEnvy Australia's Christmas Tree Decorations...deconstructed. We finished Part 2 with me attaching all the mushroom head tops to the bases with the hot glue gun. And yes this carried on for 2 nights..but the out come was fantastic. I was so happy with the finished little Whimsical Mushrooms..let's take another look.. a refresher if you will.


Yes my finished little mushrooms all upside down and ready for attaching the green painted mini pegs.
I was getting close to the finish line now and with all the green pegs painted, and the Moss ready to go it was another couple of late nights with my friendly hot glue gun.
The first one was obviously the most important, why? Well firstly if it was too heavy it was not going to sit well at all on the tree...secondly...if they didn't fit on the mini pegs..then I was going to have no Whimsical Christmas Tree at all...My whole theme for Xmas would be ruined.....now my month had been riding on this...so I went to work with my glue gun and moss.....
All that worry and doubt for nothing...they of course were absolutely perfect...it's funny, as a designer and artist, you always have this little voice or self doubt. I don't think I've ever met another artist/designer that doesn't feel the same way. Yet we are who we are for the reason that deep inside we know that what we imagine, 9 times out of ten..works perfectly...its just that tiny little feeling (which can be in reality a huge feeling of failure). But not this time..this time like the last project works to a T. That being a TrEnvy T.


The Moss definitely made these..I'm so glad I waited for it to arrive.


So that completes the deconstruction of the TrEnvy Australia Whimsical Mushroom Christmas Tree Decorations... I hope you have enjoyed...and yes Part 4 will be the complete TrEnvy Australia HQ Christmas Decorated Profile..until then stay safe and theme up for your Christmas..it truly is worth it.


Tuesday 29 November 2011

TrEnvy Australia Christmas Tree Decorations...Deconstructed PART 2

Well with the first instalment Part 1 complete we shall continue with Part 2...so at this stage our Whimsical Mushrooms have been handmade and painted and glossed to finish.


Gloss having been applied, white foaming look, disappears when dried.

So again waiting time for a couple of days just to make sure the gloss hardens.
Now that both the tops and the bases were completed it was then a matter of deciding how to hang them on the Xmas tree..again ideas run through my head (this is normal for me, especially when I'm about to go to sleep) so I decided on clips, but what sort...sheesh these dilemmas just keep on happening.
So after much consideration I decide on clips...mini wooden pegs to be precise.

So my darlin better half who is always supportive of my Xmas quests buys me a bag of miniature wooden pegs, plain wood, so I start to paint these green to be hidden amongst the tree.


The artist in progress....


The finished green pegs...much better.
With the clips all organised, many late nights with loads of Merlot and Shiraz to help along the way, I was happy to have progressed this far. It was coming along just as I had planned.
The next day I went to my local florist and ordered a bag of Moss..this was to take longer to arrive than expected, but it did eventually turn up...all the way from Sydney no less. (this will be explained later).
Once the Moss arrived, a couple days later, I was ready to pull out my trusty friend...The Heat Gun!
This was where all my design and handicrafts came to fruition in their entirety. 
So with a few Champas under my belt I was ready, ready to glue like I'd never glued before..actually I lie, I have once before glued like my life depended on it..back in my fashion design days, but that is another story for another time.
So here we go...pictures of the construction of the TrEnvy Whimsical Mushrooms.


My bag of Moss..so lush and green.. and real too, just dried and painted for affect.


Every artist needs a Champas to award a project. The gluing had begun and went well too.


My little mushrooms coming together really well.


So this continues for 2 nights....
Part 3 will be the finished product..but till then.. goodnight all. TeePs CEO TrEnvy Australia.

Monday 28 November 2011

TrEnvy Australia handmade Christmas Tree Decorations...deconstructed! PART 1

Well I'm sorry to all for the delay in updated TrEnvy Australia Blogs.. with Christmas on its way I have been extremely busy prepin' for our annual Dec fest at TrEnvy Australia HQ.. now last year it was a 3 month collage of a Christmas tree. (photo below)
Here's the finished product of last years collage. The 3 month Christmas experience.
So getting back to this years project, I decided this year I would create my own Xmas Tree Decorations..
So the TrEnvy Australia Christmas Tree Dec Concept was born...on the 31st of October...yes Halloween...knowing that with only a month in which to design and create I had to get to it...
Halloween night the 31st of October I set the theme of upcoming Xmas with a little inspiration from Mother Earth and my son's Super Mario game along with the fathers day gift my wife and son had bought for me this year. I decided this year TrEnvy would have a Whimsical Christmas Tree.
Below is my original inspiration (pictures)


The Whimsical Mushroom Candles which were given to me for Fathers Day 2011.

The spotted woodland Mushroom, reminds me of not only Super Mario games from the 80's but the whimsical world of Alice in Wonderland & Charlie and the Chocolate Factory. There starts my design for a Whimsical TrEnvy Australia Christmas Tree.
I start on the 31st of October by making a flour clay...4 cups Flour, 2 cups Salt and 1/2 cup of cooking oil.
mix together and your ready to create, I of course have never tried flour clay before so it was a trial first..but it worked out perfectly the first time.
Here's a photo of the mixed flour clay, a great first attempt if I do say so myself.

Now to start the actual creations of my TrEnvy Australia Christmas Woodland Whimsical Mushrooms.
Next was to shape my little mushrooms, and having been bought up with my mother doing pottery for many years I think these things stick with you. so tops and base made separately then cooked in the oven for approx. 20min at 250 degrees...thank god it wasn't the middle of summer...you would die of heat exhaustion for sure...the first lot were a little burnt but not having made them before I was sure they would be ok. Here's some photos of my first batch of Mushrooms..


A little burnt but it was all good as I knew I was going to paint them...I suppose if you were after that rustic country charm then they would have been perfect left as is.
So after making a few batches in the next week it was time to trial painting them...red for the tops and white for the bases...more pictures below.
 

A first undercoat of the Mushrooms in red.


A slow process which took a couple of weeks to do..continuing on... coat after coat.

The bases got burnt..quite crispy and black, but I had all this under control...

In between all this daily life continues...ie: my day job, and then coming home to continue on..
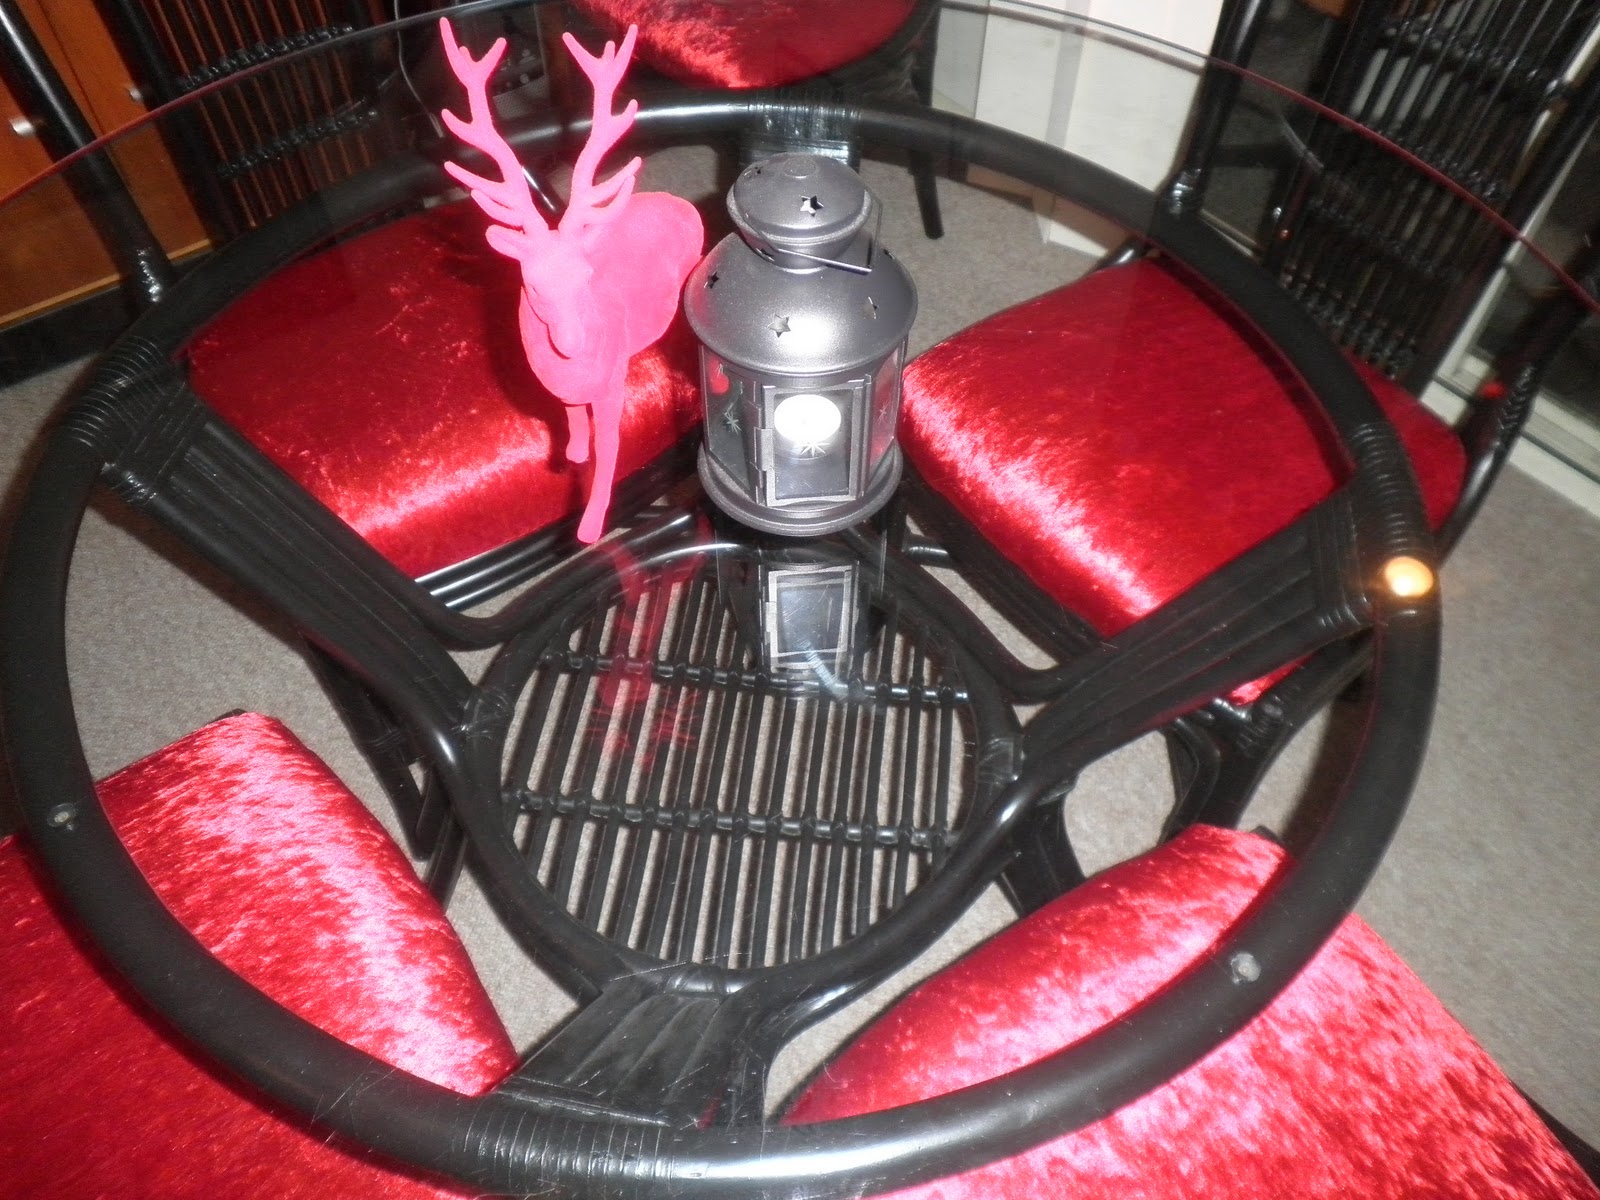
I also recovered our dining room suite for Christmas..like I didn't have enough to do..just a few pics to show you our new TrEnvy Christmas Dining Suite...Red Velvet...works wonders.


The finished suite...like I said, as if i didn't have enough to do..
 
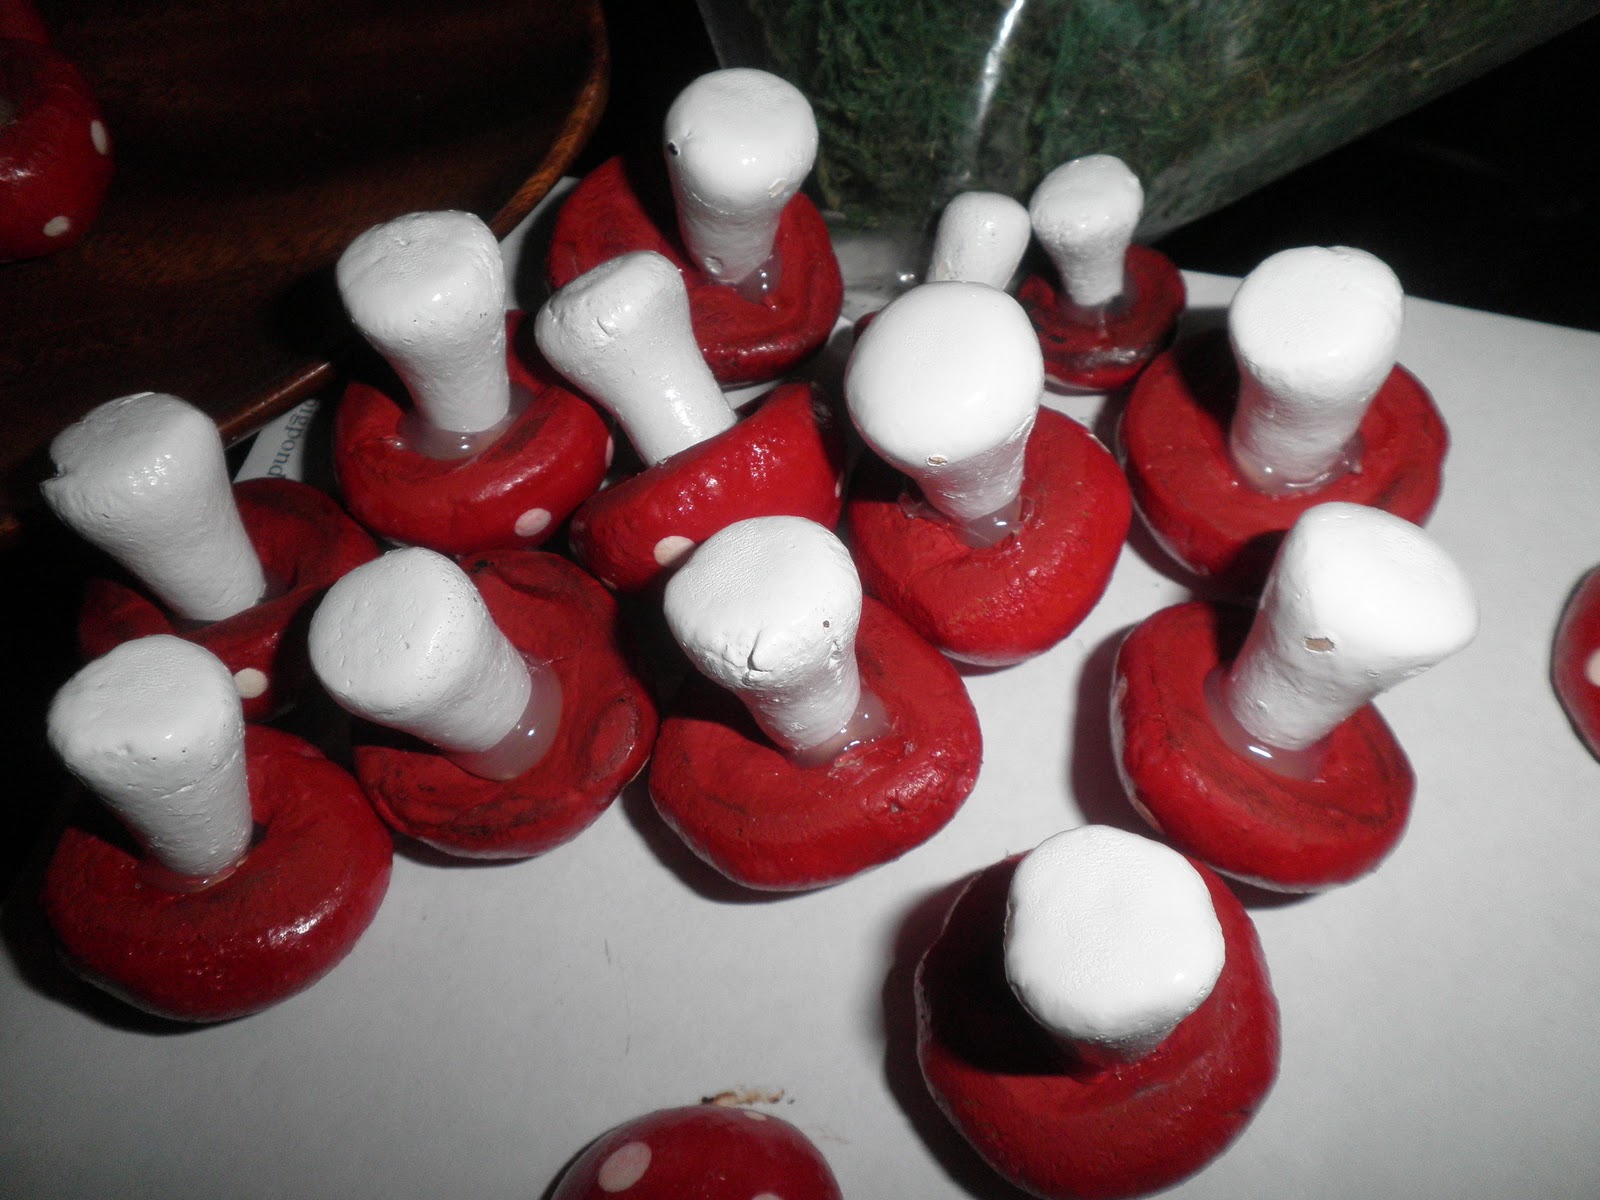
So getting back to the mushrooms...next was the white bases..
 
After cooking all the bases to the mushrooms, I started hand painting them...this was the first hurdle I came across...a) the white paint wasn't covering the burnt base and b) it was soaking up the white way too much..so a trip to the hardware shop to buy some gloss white spray paint solve all my woes...the next day I made a spray box, lined my little bases up with the help of good old Blu Tak and they were ready to spray. 3 coats and 3 days later...(I like to give time for drying properly) wallah!


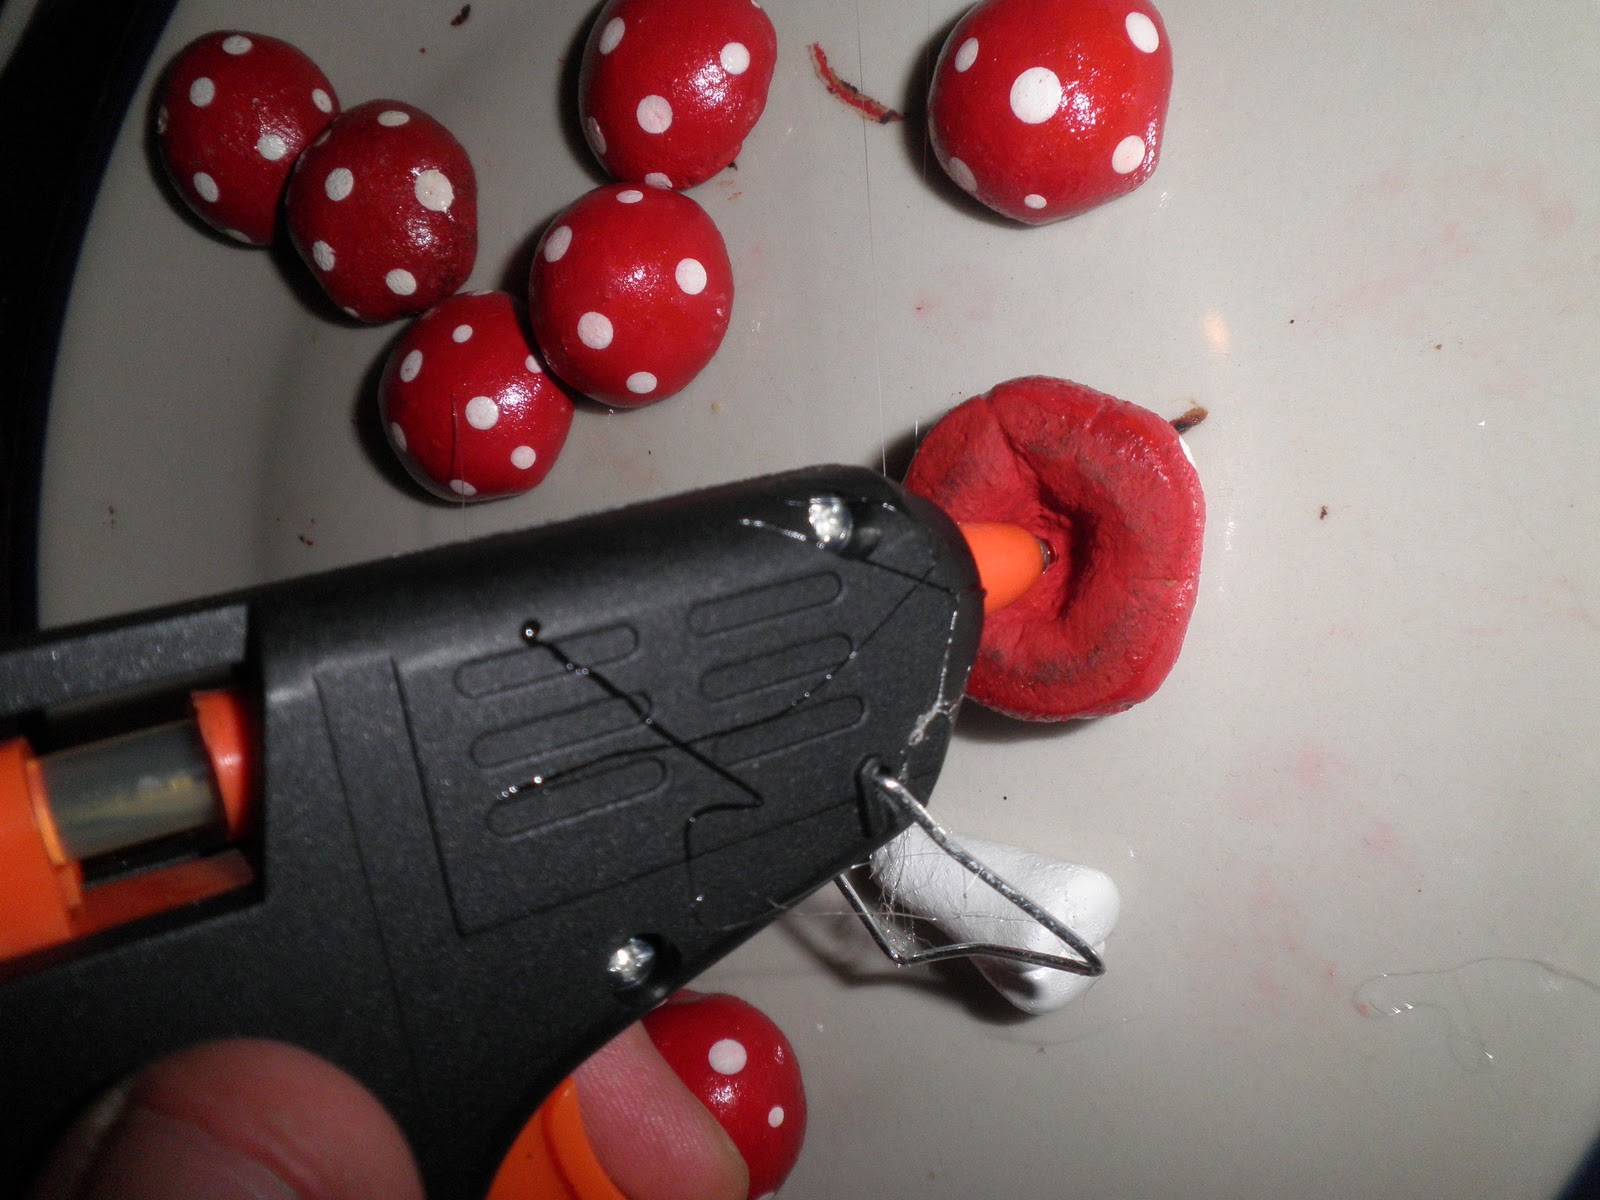
White gloss finished and now for the stippling of white dots on the tops of the mushrooms.

From this to......

This.......


Then to gloss the tops so they matched the gloss white bases...by this time we are almost at the end of the month of November...

Applied the first coat of gloss...not bad but needed a few more coats.

Well with the gloss completed...its time for the rest of the construction to continue...
Now it is time for a break, but I will be sure to continue the deconstruction of the TrEnvy Whimsical Tree Decorations. Hope you have enjoyed the first instalment.